How to Install Mustang Seat Covers Properly (Step-by-Step Guide)

Installing high-quality mustang seat covers is one of the easiest ways to protect your interior, upgrade the look of your cabin, and make your pony more comfortable to live with—without paying for full reupholstery. With a bit of prep and the right technique, you can get a tight, OEM-style fit at home in under a couple of hours.
This guide walks you through everything: understanding your Mustang seats, prepping, installing front and rear covers, dialing in the fit, and keeping those mustang seat covers looking sharp for years—especially when you’re using custom-fit covers from Caltrend.
Understand Your Mustang Seats Before You Start
Before you even open the box, it helps to know what you’re working with. Different model years and trims have slightly different seat shapes, rear seat layouts, and safety features, all of which influence how mustang seat covers should be installed.
Bucket Fronts, Rear Benches, and Split Backs
Most Mustangs use sporty front buckets and a rear bench with either fixed or split-fold backrests. On many models, the rear seat bottom cushion is held in place with clips and can be popped out for easier access, which makes installing mustang seat covers much cleaner.
Understanding how your rear seat attaches—fold-down backs, removable bottom, convertible vs coupe trim—lets you plan whether you’ll install covers in-car or by temporarily removing the cushions.
Airbags, Headrests, and Integrated Features
Newer Mustangs incorporate side airbags in the seat, plus integrated headrests, lumbar knobs, and power controls. Quality mustang seat covers are patterned to clear airbag deployment paths and include cutouts for levers, knobs, and headrest posts, so nothing is blocked or forced.
Confirm that your covers are airbag-compatible, and never tape, sew, or strap over side airbag seams.
Tools and Prep Before Installing Mustang Seat Covers
Good prep is the difference between a quick, frustration-free install and a wrestling match. A few minutes of setup will also help your mustang seat covers last longer and protect the original upholstery properly.
Clean and Dry the OEM Seats
Before installing mustang seat covers, vacuum and wipe your factory seats so you’re not trapping dirt, sand, or moisture under the new fabric. Caltrend and other experts recommend removing loose items, vacuuming seams, wiping with a mild cleaner, and letting any shampooed areas dry completely to prevent mildew or hidden staining.
A clean, dry starting point keeps your original upholstery from degrading under the covers and helps the new fabric grip better.
Organize Mustang Seat Covers and Hardware
Lay out your mustang seat covers in pairs—front backs, front bottoms, headrests, rear bottoms, rear backs, and any armrest or console pieces. Match each piece to the seat by looking at cutouts for controls, airbags, and seat shapes. Doing this before you start avoids confusion once you’re working in the tight space inside the car.
You’ll also want:
- A trim tool or dull butter knife for tucking fabric
- A flashlight to see under seats
- Patience—custom covers are snug by design, so they’ll resist a bit before settling into place.
Installing Front Mustang Seat Covers Step by Step
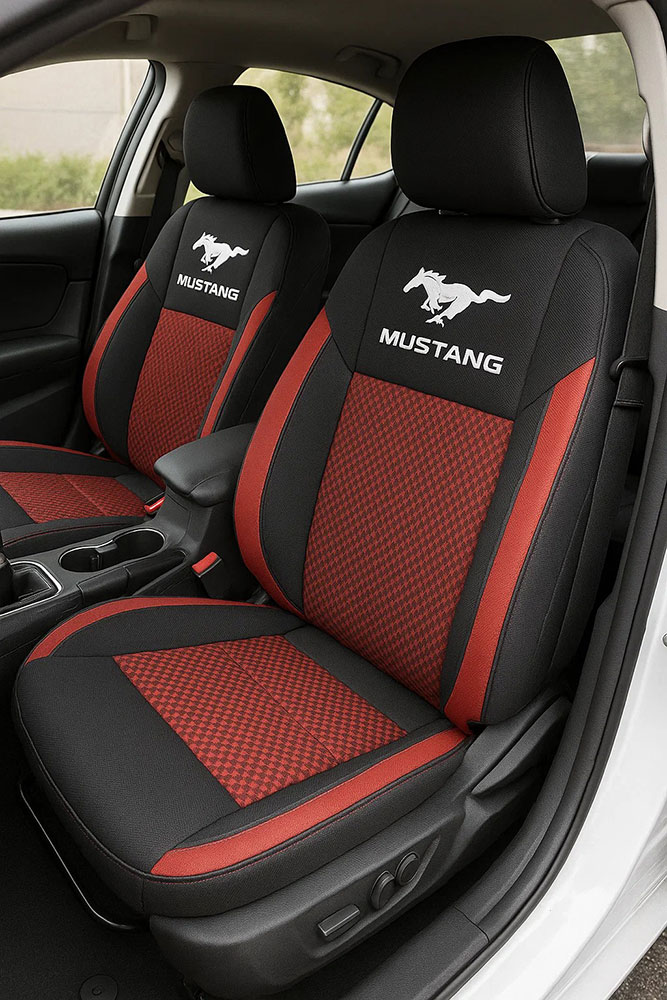
The front buckets are where you sit most, so take your time. Properly installed front mustang seat covers should follow the factory bolsters closely, with smooth seams and no bagging.
Remove Headrests and Fit the Seat Back Covers
Start by sliding the front seat back and reclining it slightly. Remove the headrest by pressing the release button or, on some older models, inserting a pin or paperclip into the small release hole at the base of the post.
Find the seat-back cover for that side by matching the cutouts to any levers or knobs. Turn the cover partially inside out at the top (“sock” method), then:
- Pull it down over the top of the seat back in small, even increments.
- Work it around the shoulder bolsters, keeping seams aligned with the seat edges.
- Feed the front flap or Velcro tongue into the gap between the seat back and bottom.
- From behind the seat, pull that flap tight and attach it to the rear Velcro or laces.
Your mustang seat covers should now hug the seatback with no big wrinkles, and any airbag seam on the outer side should remain unobstructed.
Install and Secure the Seat Bottom Covers
Slide the seat forward now to access underneath. Identify the bottom cover by its cutouts for power switches, belt buckles, and any height levers.
- Hook the front edge of the mustang seat covers over the front of the seat cushion.
- Pull the cover back over the cushion, stretching it evenly over the side bolsters.
- Feed straps or laces under the seat toward the rear, being careful to route them above any wiring harnesses or seat-track mechanisms.
- Connect straps to their buckles or S-hooks at the rear and snug them gradually, alternating sides to keep tension even.
- Tuck side edges into the plastic seat trim with your fingers or trim tool for a finished look.
By now, your front mustang seat covers should feel snug, with no sliding when you sit down or move around.
Fit the Headrest and Any Armrest Covers
Slip the headrest covers over the pads, working them down evenly. Close any hook-and-loop fasteners underneath, then reinstall the headrests into the seat backs and push the fabric neatly under the plastic trim rings.
If your Mustang has a fold-down armrest or console cover included, slide it on from the end, tug it into place, and secure it with any Velcro or straps provided.
Installing Rear Mustang Seat Covers (Coupes and Convertibles)
The rear is a bit more involved but still manageable at home. Properly installed rear mustang seat covers will preserve fold-down functions, cupholders, and seat belt access while fully protecting the cushions.
Removing and Covering the Rear Bottom Cushion
On many Mustang coupes and convertibles, the rear bottom cushion pops out by pulling sharply upward at the front corners to release the clips.
Once removed:
- Place the cushion on a clean surface.
- Slide the bottom mustang seat covers over the foam, aligning cutouts with belt buckles and latch anchors.
- Use built-in elastic straps, hooks, or laces to secure the cover to the underside of the cushion shell.
- Smooth the top side so seams align with the original contours.
Reinstall the cushion by aligning the rear tabs first and then pressing firmly down at the front to re-engage the clips.
Installing Rear Backrest Covers and Reassembly
Fold the rear seat backs down if your model allows. Slip each backrest cover over the top and pull it down evenly, just as you did with the front mustang seat covers:
- Match the cover to the correct side (look for cutouts for belt guides or headrest posts).
- Pull the cover down in stages, working around any side bolsters.
- Feed center tongues or straps through the gap between the backrest and the parcel shelf or trunk area.
- On convertibles, tuck the edges into the plastic molding; on coupes, use straps behind the folding backs to secure the cover.
Install rear headrest covers (if equipped) and then raise the backs to make sure they latch and fold freely.
Fine-Tuning the Fit of Mustang Seat Covers
After all mustang seat covers are installed, spend a few minutes dialing in the fit. This is where you go from “installed” to “factory-tight”.
Tensioning Straps and Eliminating Wrinkles
Gently pull on each strap or buckle under the seats, tightening a little at a time from both sides to maintain symmetry. Smooth the fabric with your hands, pushing air toward seams like you’re stretching a bedsheet. If you see major wrinkles, loosen the nearby strap, reposition the cover, and then retighten.
Custom-fit mustang seat covers are meant to be snug and will often relax slightly after a day or two of driving, so a final re-snug later will make them look even better.
Checking Seat Controls, Airbags, and Belts
Cycle each seat through its full range of motion:
- Slide forward/back
- Tilt and recline
- Test lumbar and height adjustments
- Confirm seat heaters (if equipped) still warm evenly
Make sure mustang seat covers aren’t binding any levers or knobs, that the side airbag areas are not taped or strapped over, and that all buckles and latch anchors are accessible without wrestling the fabric.
Common Mistakes to Avoid with Mustang Seat Covers
Even the best mustang seat covers can cause headaches if installed incorrectly. Avoid these frequent missteps to keep safety and comfort intact.
Blocking Airbag Paths or Seat Functions
Never modify the airbag seam on your mustang seat covers, and don’t run extra straps across it. If you have to force a strap or cut a new hole, something is wrong—double-check that you’re using the right piece in the right position. Also ensure that seat belts, latch anchors, and release levers can be used without lifting or shifting fabric.
Routing Straps Through Wiring or Moving Parts
Under-seat wiring for airbags, occupancy sensors, and power controls must stay unobstructed. When installing mustang seat covers, route straps above wiring looms and away from seat tracks and motors. If a strap catches when you move the seat, loosen and reroute it before it frays or damages a harness.
Long-Term Care for Mustang Seat Covers
Once installed, a little maintenance will keep your mustang seat covers looking as good as they did on day one.
Routine Cleaning and Spill Management
Most Caltrend fabrics are designed for easy care: a vacuum to remove grit, followed by a damp microfiber cloth and mild soap for spills is usually enough. Blot rather than scrub, and let mustang seat covers air-dry fully before heavy use. For mud, allow it to dry, then vacuum and spot clean.
Preserving Color, Fabric, and Foam Over Time
Avoid harsh chemicals, strong solvents, or silicone dressings that can break down protective coatings or make covers slippery. When possible, park in shade or use sunshades to reduce UV exposure; Caltrend fabrics are UV-treated, but less sun always means longer life. Rotate heavy-use areas (like backrest pockets) by not overstuffing them, so foam and stitching in your mustang seat covers stay firm.
FAQs About Mustang Seat Covers
Do I need to remove the seats to install Mustang seat covers?
Usually no. Most custom mustang seat covers from Caltrend slide over the seats and use straps or Velcro underneath, though you may remove the rear bottom cushion for easier access.
Will Mustang seat covers interfere with my side airbags?
Airbag-compatible mustang seat covers are engineered with special seams or openings to allow proper deployment. Never cover or modify those seams; always choose covers that specifically state airbag compatibility.
How long does it take to install a full set of Mustang seat covers?
For a first-time DIYer, plan about 60–90 minutes for front and rear mustang seat covers, including cleaning and final adjustments.
Can I still use my seat heaters with seat covers installed?
Yes, as long as you use heater-compatible mustang seat covers made from breathable materials. You may notice a very slight delay, but heat should still transfer through the fabric.
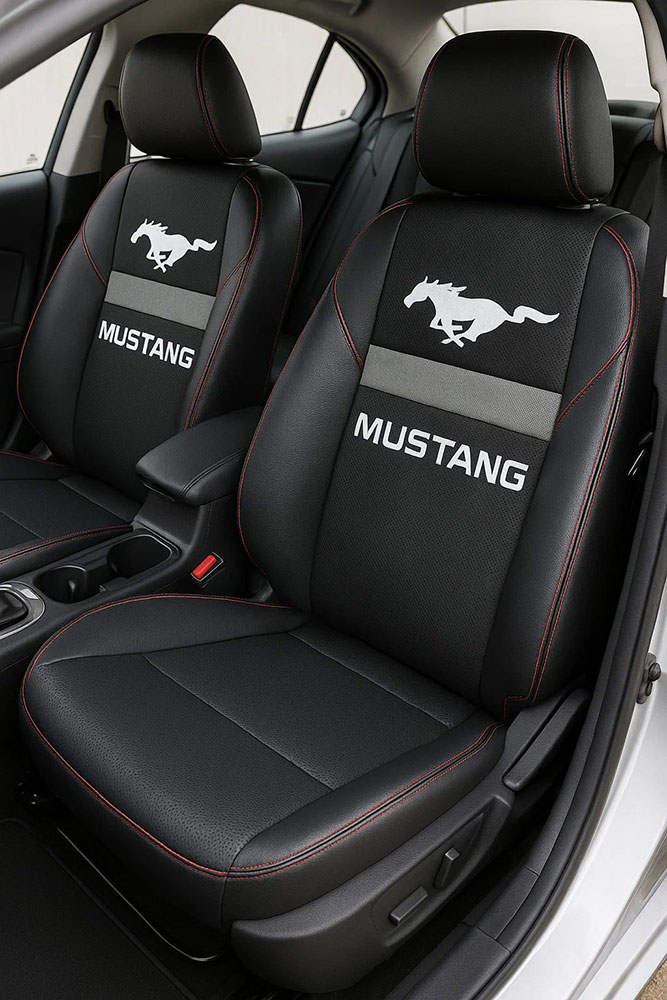
Which material is best for Mustang seat covers?
For sporty daily driving, neoprene/neosupreme mustang seat covers are popular. For a premium feel, leatherette or MicroSuede works well. For heavy use or pets, canvas-style fabrics offer maximum durability.
Conclusion
Installing mustang seat covers properly is all about preparation, patience, and following a logical sequence: clean, test-fit, install fronts, install rears, then fine-tune. When you pair that process with custom-fit, airbag-compatible designs, you get a factory-tight look, better comfort, and serious protection for your Mustang’s interior—without any permanent changes.
Caltrend designs model-specific mustang seat covers using CAD/CAM patterns, quality fabrics, and robust fastening systems, so you can achieve that pro-level result in your own driveway. If you’re ready to protect your pony’s seats and upgrade its style at the same time, get a custom quote from Caltrend and build the perfect set of Mustang seat covers for your car.