How to Install a Toyota Camry Seat Cover Without Removing the Seats
Upgrading and protecting your interior doesn’t have to mean pulling bolts and wrestling seats out of the car. With the right sequence and a few simple tools, you can install a toyota camry seat cover set—front and rear—quickly and cleanly, all while keeping every factory feature accessible. This step-by-step guide covers prep, front bucket installation, rear bench/split backs, tensioning for a wrinkle-free look, safety checks, and care. You’ll also find troubleshooting tips and pro pointers from Caltrend’s fitment playbook so your cabin looks factory-tight on the first try.
What to Know Before You Begin
Installing a toyota camry seat cover without removing the seats is absolutely doable if you plan the workflow. Custom-fit sets are patterned by model year, trim, and seat configuration (LE/SE/XLE/XSE, bench vs. split, heated/ventilated options). That precision is what lets you route straps and anchors through seat gaps instead of unbolting anything. Identify side-airbag zones, buckle stalks, LATCH anchors, and seat controls before you start; your covers should leave these unobstructed or include engineered seams/openings to maintain full function.
Why custom fit matters
Universal covers can shift, bunch, or block controls. A custom toyota camry seat cover follows the contours of Toyota foam and plastics, with pass-throughs that line up to buckles and ISOFIX/LATCH points, so the install is safer, cleaner, and faster.
Tools & Setup: Five Minutes That Save You Twenty
A little prep makes installing a toyota camry seat cover smooth. Park on level ground with good light, slide front seats fore/aft as needed for access, and gather:
What you’ll need
- Hand vacuum & microfiber towel (clean seats = better grip)
- Mild interior cleaner (remove dust/oils from cloth or leather)
- Plastic trim tool or butter knife (for gentle tucking along plastics)
- Small flashlight (to see under/behind seats)
- The cover set staged by position: front bottoms, front backs, headrests, rear bottoms/backs, armrest/pass-through pieces
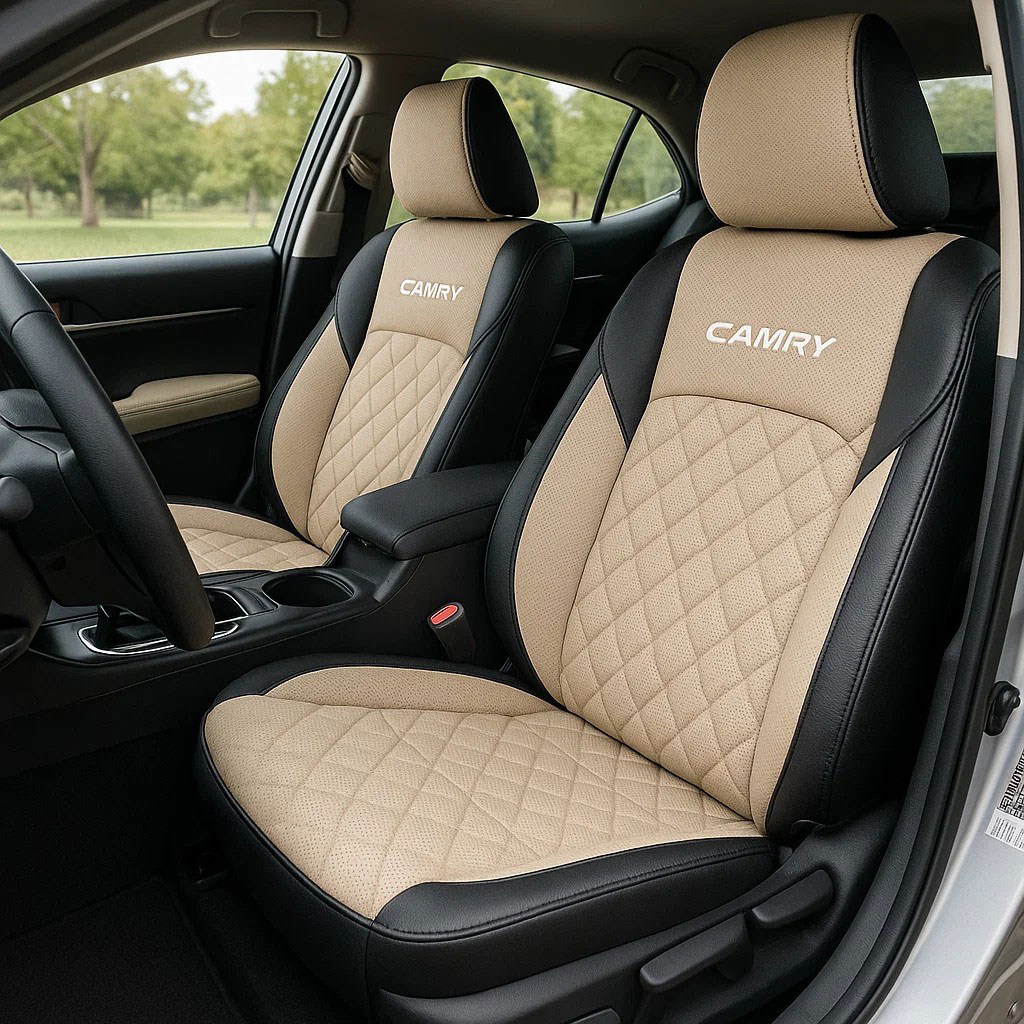
Front Buckets: Step-by-Step Install (No Seat Removal)
Front buckets are the most visible—take your time aligning seams so your toyota camry seat cover looks OEM-tight.
1) Prep the seat
Slide the seat all the way back. Vacuum seams and wipe surfaces dry. Remove headrests (press the release tabs; on some years you’ll lift a small collar at the base). Note the side-airbag tag on the seatback—this is your “do not cover” seam.
2) Install the seat bottom
Slip the bottom cover over the front edge like a sleeve, guiding the corners over the bolsters. Feed the center flaps/straps through the seat gap (between bottom and back) with your hand or trim tool. From behind the seat, pull the flaps taut. Connect buckles/Velcro and route straps away from tracks, motors, and wiring. Snug evenly, left to right, then front to back.
3) Install the seat back
Turn the backrest cover inside-out at the top like a sock. Align shoulder seams with the bolsters and roll it down in one smooth motion. Push the center tongue through the seat gap and secure behind the backrest. Close side zippers/Velcro as designed—never cross over the airbag seam. Tuck edges lightly along plastics for a bonded look.
4) Headrests & final tuck
Slide headrest covers on, smooth with your palms, and reinstall headrests at your normal height. Run the trim tool around trim panels to tuck excess fabric without pinching.
Rear Seat: Bench & Split-Fold Backs (60/40) Without Unbolting
The Camry’s rear seats are designed to fold—use those hinges to your advantage so your toyota camry seat cover slides on neatly.
1) Bottom cushion first
If your Camry’s bottom cushion does not pop out easily, leave it in place. Lift the front lip slightly, then slip the bottom cover over from the front. Feed straps and anchors through the seat gaps to the trunk side. Connect and tension so the cover sits flat with no scalloping at the edges.
2) Backrests and pass-through
Fold each backrest forward using the trunk releases (or the cabin latch). Roll each backrest cover down from the top, align the seat-belt pass-throughs and child-seat LATCH windows, then close zippers/Velcro. Install any armrest or center pass-through sleeve so cupholders still open freely.
3) Re-seat the belts & test fold
Ensure buckles emerge cleanly through their portals and belts aren’t twisted behind the cover. Fold backs upright and test the split-fold action. If you feel binding, loosen the side seam slightly and retension.
Tensioning & De-Wrinkling for a Factory Finish
Neat tensioning is the secret to a professional toyota camry seat cover install. Tighten buckles evenly, then “card” seams outward with your palms to smooth trapped air. Tuck edges along center tunnels and side plastics with a trim tool. After a short drive, neoprene/cloth blends relax; give straps a final snug for drum-tight results.
A warm cabin helps
Materials relax and conform faster at moderate warmth. Park in shade (not direct heat), run the HVAC if needed, then smooth with your hands for a perfect contour.
Keep Safety Features 100% Functional
Your toyota camry seat cover should be airbag-compatible and feature clearances for belts, sensors, and anchors. Never tape, sew, or modify engineered tear seams. Confirm:
Safety checklist
- Side-airbag seam visible/clear
- Buckle stalks and belt paths unobstructed
- ISOFIX/LATCH points accessible
- Power seat switches and lumbar controls free to move
If anything binds, reposition the panel—do not cut unless the instructions indicate a precut knock-out.

Material & Fit: Choose What Suits Your Commute and Climate
Picking the right toyota camry seat cover fabric improves comfort and cleaning for your actual use case.
Everyday commuters & families
Neosupreme/neoprene-style: soft, slightly cushioned, water-resistant, wipes clean quickly. Great with kids/pets.
Hot climates or leather preservation
Breathable knit or perforated patterns: reduce heat build-up, protect OEM leather from UV and dye transfer.
Work, rideshare, or spill-prone use
Canvas/ballistic: rugged, abrasion-resistant, excellent for high-traffic cabins and frequent wipe-downs.
Troubleshooting: Real-World Fixes in Two Minutes or Less
Even a tailored toyota camry seat cover can need a micro-adjust.
Slipping bottom
Clean OEM cloth/leather (body oils reduce grip), re-route straps in straight lines, and bury seat anchors deeper in the seat gap.
Wrinkles or air pockets
Warm the cabin and smooth with your hands from the center outward. Re-snug buckles equally from both sides.
Lever or cupholder interference
Unclip, realign the cutout, and retension so accessories open/close smoothly.
Care & Cleaning: Keep the Cabin Fresh
Routine care extends the life of your toyota camry seat cover and keeps everything looking new.
Quick maintenance plan
- Weekly: Vacuum seams; wipe with a damp microfiber.
- Monthly: Mild soap solution for scuffs; blot and air-dry.
- After beach/gyms: Rinse sweat/salt sooner; avoid silicone dressings that leave slick residue.
Follow the label for machine-washability; most premium covers air-dry flat (no high heat).
FAQs
Do I need to remove the seats to install these?
No. A custom toyota camry seat cover is designed to install with seats in place. You’ll route straps through seat gaps and use anchors—no unbolting required.
Will my side airbags still work?
Yes—choose airbag-compatible covers with engineered tear seams/open panels. Never alter those seams, and keep the airbag tag area clear.
Do heated/ventilated seats still feel effective?
With the right fabric and perforation, yes. Thick vinyls can reduce sensation; breathable materials maintain better heat/airflow transfer.
Can I machine-wash my covers?
Follow the care label. Many fabrics spot-clean or hose off; some are machine-washable on gentle, then air-dry only.
How long does the install take?
Typically 45–75 minutes for front and rear the first time. Expect a quick re-snug of straps after your first drive as materials settle.
Conclusion
With a little prep and the right sequence, installing a toyota camry seat cover without removing the seats is simple—and the payoff is huge: protected upholstery, preserved resale, and a cabin that’s easier to live in every day. Prioritize custom fit, airbag-safe design, and fabrics matched to your climate and lifestyle. The result is a factory-tight look that stands up to commutes, car seats, coffee spills, and weekend adventures.
Caltrend engineers custom, model-specific toyota camry seat cover sets with precision patterns, airbag-compatible seams, and durable, comfortable materials—made to install easily without removing seats. Ready for a cleaner, tougher, better-looking interior? Get your custom quote today and outfit your Camry with a set that feels tailor-made because it is.